How to Repair Leather: How the Craft Actually Works
In this article
Say you own a bag you have carried for fifteen years. The leather is still beautiful, but a handle is pulling loose and the color has worn pale where your hand always rests. You do not want to throw it away, and you should not have to.
Most damaged leather can be brought back. People who visit our atelier seldom ask whether a piece can be saved. They ask how to repair leather so the result looks as if nothing ever broke.
The short answer: carefully, by hand, and in a fixed order. At MD LederAtelier in Beringen, Switzerland, every repair follows the same five stages: diagnosis, cleaning, color, stitching, and finishing. None can be skipped. There are no tricks here. It is how leather has been worked for generations, with patience and with products matched to the specific hide in front of us.
1. How Does Leather Repair Work?
When people ask how leather repair works, they usually expect a single trick. There is not one. Leather is animal skin, a natural material made of interwoven fibers, and that is exactly why it can be repaired. A synthetic tears clean and stays torn. Leather can be cleaned, re-dyed, re-stitched, and re-finished, and it accepts that work if it is done in the right sequence.
The sequence is where repairs go wrong. Skip a step or use the wrong product and the repair shows, or fails after a few months of use. Cheap repairs glue a flap over the problem and cover it with paint, and the problem is still underneath. We rebuild the structure first and match the surface second, because the piece is meant to be worn every day, not photographed once and put away in a cupboard.
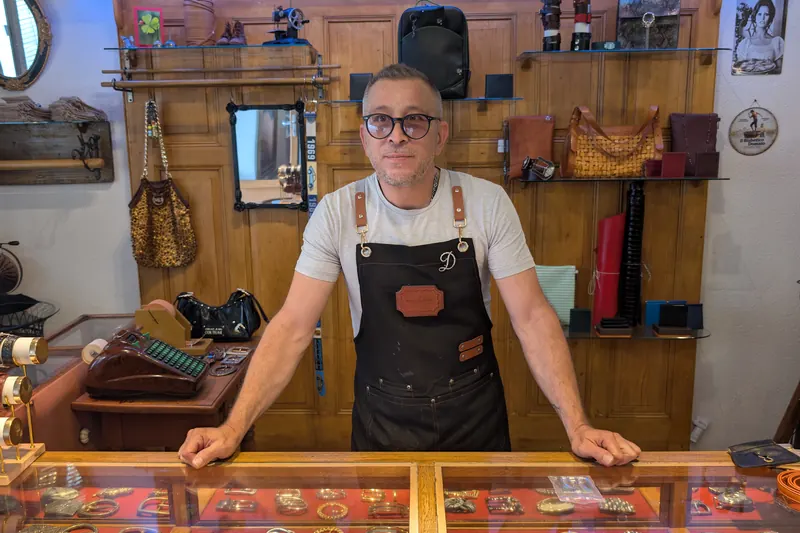
MD LederAtelier was founded in Beringen by owner Mary-Salvatrice Catalfamo, and the bench work is led by master craftsman Domenico Di Cinque. Every piece goes through the same five stages, each depending on the one before it. A careful diagnosis prevents wasted work. Clean leather accepts color. Stable color lasts through finishing. If you jump straight to the visible part, the rest does not take care of itself.
We repair bags, shoes, belts, car seats, and saddlery, and the principle is the same for all of them: fix what is broken, preserve what is still good, and never hide a weak structure under a fresh coat of paint. That also means we say plainly what a repair can and cannot do.
2. How to Repair Leather: Step One Is Diagnosis
Before any tool touches the leather, we read the piece. Diagnosis is where the repair is actually decided, because no two pieces need the same work, even when the damage looks identical.
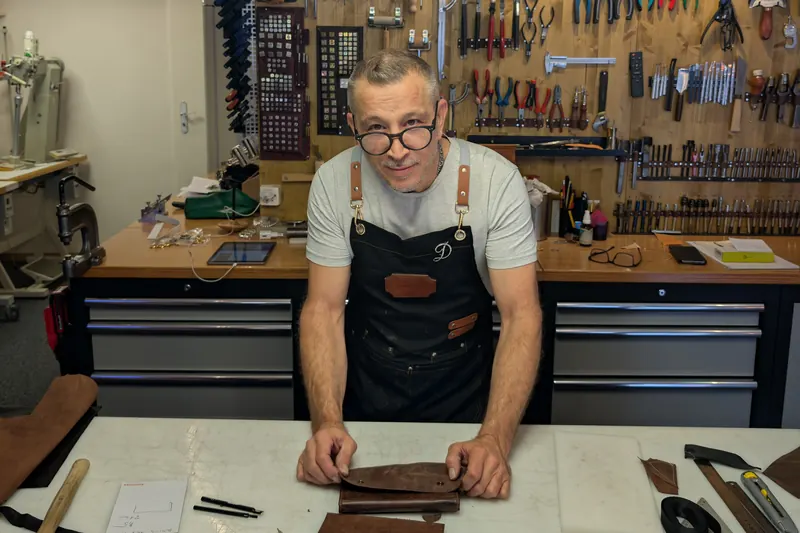
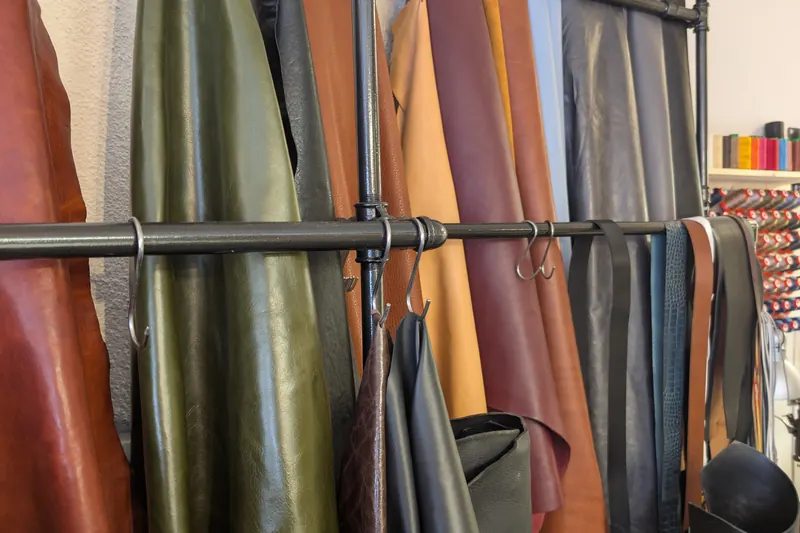
We look first at the material. Vegetable-tanned leather behaves differently from chrome-tanned, and full-grain leather takes work differently from a corrected grain with a painted finish. Suede and nubuck are another case entirely. Then we check the age of the piece, where it flexes, where it is worn, and whether the damage is on the surface or in the structure that holds the piece together.
That last distinction matters most. A scuffed corner is a surface problem. A handle pulling away from the body is structural, and the stitching or rivets have to be rebuilt before any color goes on. Sometimes a part should be replaced rather than repaired.
A strap cracked all the way through will break again, so it is better remade than glued. We tell you this plainly, because a repair that will not hold is not a service. It is only a delay.
We also ask about the piece itself: how long you have had it, how you store it, whether it has ever been conditioned. A bag kept in a dry, hot room loses oil and needs a different treatment than one stored in a normal wardrobe. None of this is small talk.
The diagnosis leads to the quote, and we do not give prices for repairs we have not seen. A worn handbag, a torn car seat, and a pair of shoes with a broken sole are three different jobs with three different costs. Send us photos or bring the piece in, and we will tell you what is possible and what it will cost before we start.
3. Step Two: Cleaning and Preparing the Surface
The second step is unglamorous but essential. Old wax, dust, body oils, and failed conditioners sit on the leather and form a barrier. Dye will not bond to a dirty surface, and adhesive will not hold on grease. So we clean with products chosen for the specific leather, and we do it gently, because aggressive cleaners strip the patina we are trying to preserve.
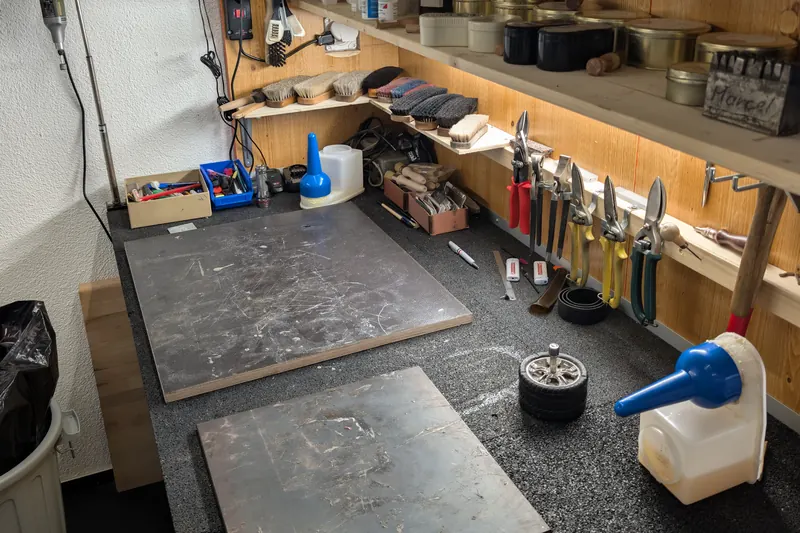
Cleaning also shows the real condition of the leather. Dirt hides a surprising amount. Once a bag is properly cleaned, small cracks and weak spots appear that were invisible before, and the diagnosis gets a second, more accurate pass. What we planned in step one is confirmed or adjusted here, before any money or material is committed to color.
Preparation goes further than washing. Where the original finish has failed, we remove only the damaged layer and leave the healthy leather alone. Small scuffs are keyed lightly so the new color has something to grip.
Over-sanding a whole panel to make it uniform is faster, but it erases the natural aging that gives a good piece its character, and it is the shortcut we refuse. We want a repair you cannot find, not a piece that looks repainted, and a light hand here is what makes the rest of the work disappear.
4. Step Three: Matching the Color
Color is the hardest part of the job and the one customers worry about most. We do not match the original color of the leather. We match the color it is today. Leather darkens with sun and wear, and a ten-year-old bag is not the shade it left the factory. If we matched the original, the repair would glow like a fresh patch against the aged surface around it.
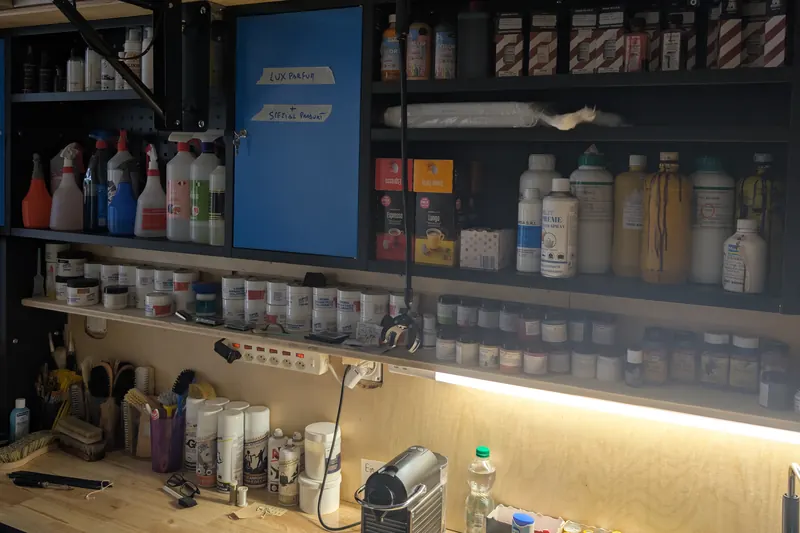
So the dye is mixed by hand at the bench, layer by layer, until it disappears into the surrounding leather. Black is the most forgiving to match. Tan and brown are the most demanding, because they shift subtly with light and wear, and a brown that looks right under the work lamp can look wrong by the window.
We build the color slowly and let each thin coat dry, because heavy color in one pass sits on top of the leather instead of soaking in. Translucent layers blend a repair into worn edges.
When the tone is close, we let the piece rest and look again in daylight. Fresh dye changes as it cures. What looked perfect in the afternoon can show its true cast the next morning, and catching that before finishing is why this stage is never rushed. Patience is what makes the match believable, and no machine does this part for us.
5. Step Four: Stitching and Structural Repair
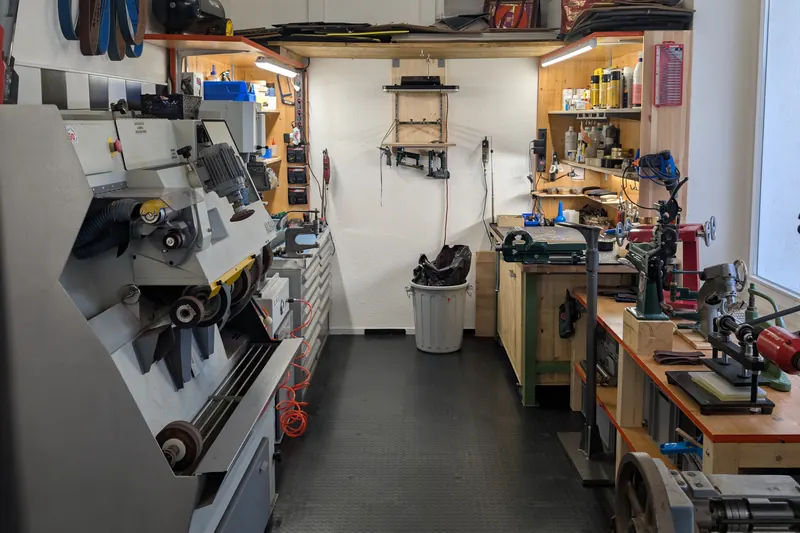
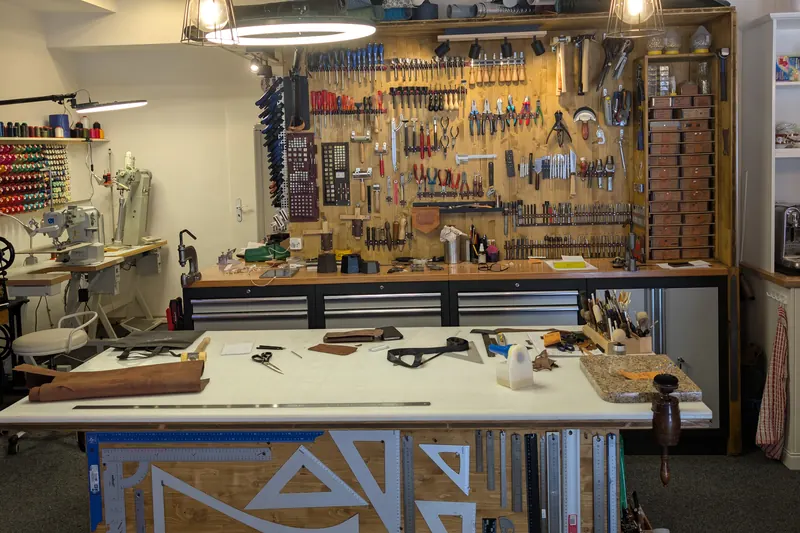
Structure comes before cosmetics. Once the color is set, we rebuild whatever holds the piece together: a handle, a seam, a torn corner, a broken clasp. For load-bearing seams we stitch by hand with the saddle stitch, two needles in one thread, so that even if a single stitch is cut the seam will not run. Saddle makers have used it for centuries, and it is still the strongest way to join leather that gets pulled every day.
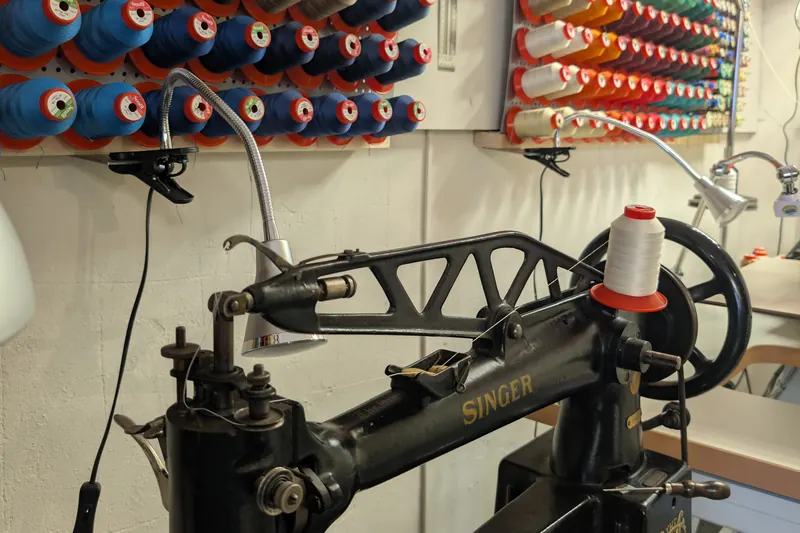
Machines have their place for long, straight runs on lighter work. On the points that carry weight, hand stitching keeps a repair alive. The thread is matched to the piece in color and thickness, because a repair stitched with the wrong gauge looks and wears like a foreign object.
Structural work is also where we replace what cannot be saved. Padding inside a worn handle is rebuilt so the grip feels right again. Broken hardware is swapped for something that matches in size and finish. A tear is patched from behind so the front keeps its original grain. All of this happens before the final finish, because a surface treatment over a weak structure is paint over a crack. It looks fine until the day it does not.
6. Step Five: Finishing and Conditioning
The last step seals the work and feeds the leather. The dye is fixed so it will not rub off onto clothing. The sheen is adjusted to match the rest of the piece, since a matte panel next to a glossy one gives the repair away.
Then a conditioner is worked in to restore the suppleness that age and cleaning take away. Dry leather is brittle leather, and a repaired piece should leave our bench feeling alive again, not just looking better.
After that, the piece rests and gets one more inspection in good light before it comes back to you. A repaired piece keeps its history. A deep scar can be stabilized and softened, but the memory of it stays in the grain. That is the nature of leather, and it is part of why people choose repair over replacement. What you get back is your own piece, strengthened and refreshed, and not a substitute for it.
That is how leather repair works from start to finish, and why we say most damaged leather can be saved. Whether it is a handbag, a pair of shoes, a belt, a car seat, or a piece of saddlery, the process is the same: read the leather, clean it, match the color, rebuild the structure, and finish with care.
If you have a piece that needs attention and want to know how to repair leather like yours, send us a message on WhatsApp at +41 76 326 69 99 or use the contact page, and tell us what you have. We will look at it, tell you whether it is worth repairing, and quote the work before anything begins. Your leather has more years in it than you think.
Frequently asked questions
Can damaged leather be repaired?
Yes, most damaged leather can be brought back. Leather is a natural material made of interwoven fibers, so it can be cleaned, re-dyed, re-stitched, and re-finished, as long as the work is done in the right sequence. Sometimes a part should be replaced instead: a strap cracked all the way through will break again. We tell you plainly what a repair can and cannot do.
How does leather repair work?
Every repair at our atelier in Beringen follows five stages: diagnosis, cleaning, color, stitching, and finishing. None can be skipped, and each depends on the one before it. We rebuild the structure first and match the surface second. If a step is skipped or the wrong product is used, the repair shows or fails after a few months of use.
How much does it cost to repair leather?
We do not give prices for repairs we have not seen. A worn handbag, a torn car seat, and a pair of shoes with a broken sole are three different jobs with three different costs. Send us photos or bring the piece in, on WhatsApp at +41 76 326 69 99 or through the contact page, and we will tell you what is possible and what it will cost before we start.
A piece to repair or a custom idea?
Visit us in Beringen or write to us: quotes are free and without obligation.